You can create a very efficient and virtually self-watering planter out of a two liter bottle of soda in just a few steps. This is a great way to grow plants when you are short of space and other basic resources. All you need is some duct tape, a pair of scissors, a pen, nail or poking tool to create the perfect garden starter from almost anywhere.
Preparing the Soda Bottle
The first step is to remove the label, clean and thoroughly rinse the bottle, twisting the cap back on when you are finished. Draw a line around the bottle about a third of the way down from the top, between two and three inches below the point where the bottle starts to slope inward. Next, poke an evenly spaced series of three to four holes between the line that you drew and just below the cap. Poke another series of holes about an inch to the left or right of where you made the first one. Repeat this until you have gone around the entire bottle.
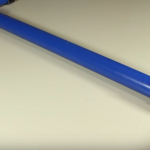
Next, cut the bottle along the line that you drew. Take the top piece, turn it upside down and put it inside the top of the bottom piece. It should fit snugly as you put it all the way inside until the tops of both pieces are flush with each other. Make sure that the cap is firmly attached before putting the two pieces together. Take the duct tape, and tape the two pieces together around the rim of the bottle, and now you have a planter that’s ready to be used.
Preparing and Planting
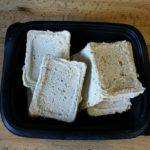
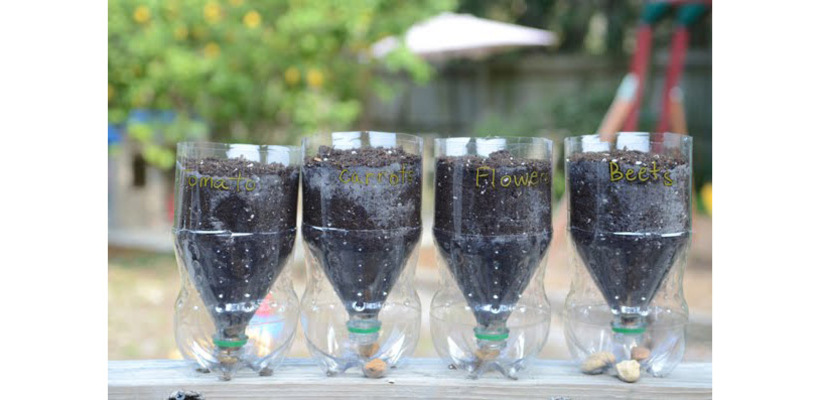
There are a lot of different growing techniques and requirements that you should be aware of before planting any crops. Once you know how to prepare your soil, simply loosely pack it into the top portion of the bottle until it reaches ½ to ¾ of an inch from the edge. Don’t pack it too tight, otherwise it may choke the seeds or prevent water from seeping through the rest of the soil. Plant three to five seeds about an inch into the soil.
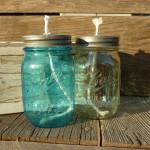
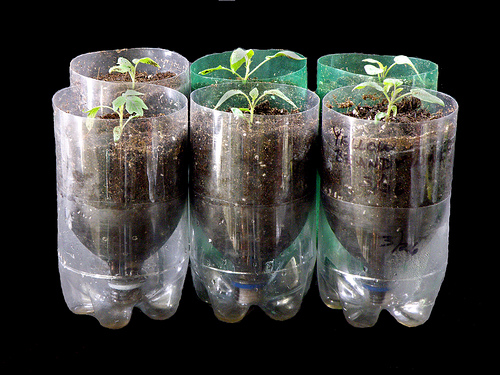
Slowly add water until it moistens the soil enough to start dripping through the holes. Repeat the process a couple of hours later. This will ensure that your soil is moist while also creating a small pool of water in the bottom part of the planter. Once you place the planters in the sun or near a grow light, the condensation caused by heating will cause the water to evaporate into the soil once again. This process will help to nourish the seedlings while minimizing the amount of water that needs to be added to the planter.
You can keep up to an inch of water in the bottom of the bottle, as long as you don’t drench the soil with a lot of it at one time. You will know when to add water once the condensation stops forming or the top soil starts to dry out a bit. When the time comes to transplant the seedlings into other pots, simply cut away the plastic from the soil, or you can squeeze the sides of the plastic to loosen the plant and let it slide out as well. This allows you to reuse the planter, but you may accidentally damage the seedlings during the process.
Build one today, and see how practical and efficient these little planters really are.