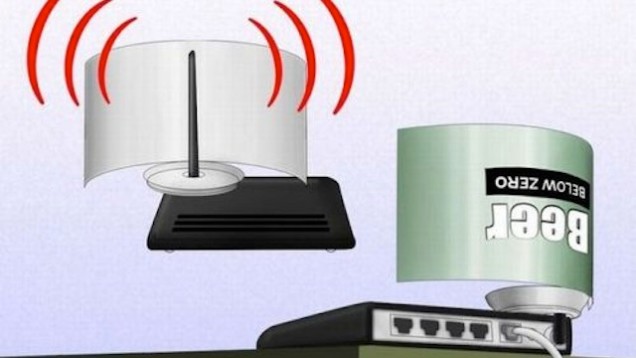
Staying connected to the outside world is one of the most anticipated challenges that people consider during a SHTF scenario. While there are no real easy solutions if entire networks go down due to a disaster or EMP event, there is one simple trick that you can use if you need to boost the range of your WiFi signal if you are simply out of range. All you need is a tin can and the appropriate hardware, and you can fashion a really effective signal booster in just a few minutes.
The good news is that the equipment needed to create your own antenna system is readily available and inexpensive. All you need to do is assemble the components and play around with their configuration until you get a stronger signal. Another benefit to building your own booster is that you can make it now and use it later. Therefore, it makes the perfect solution for a situation where you need to bug out to a location further away from network antennas.
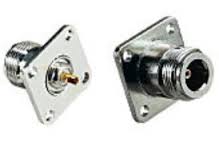
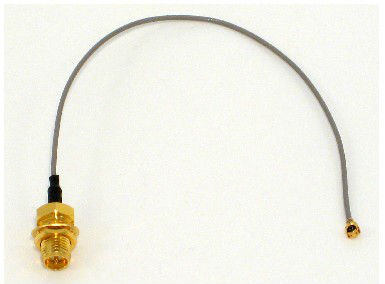
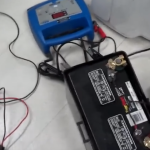
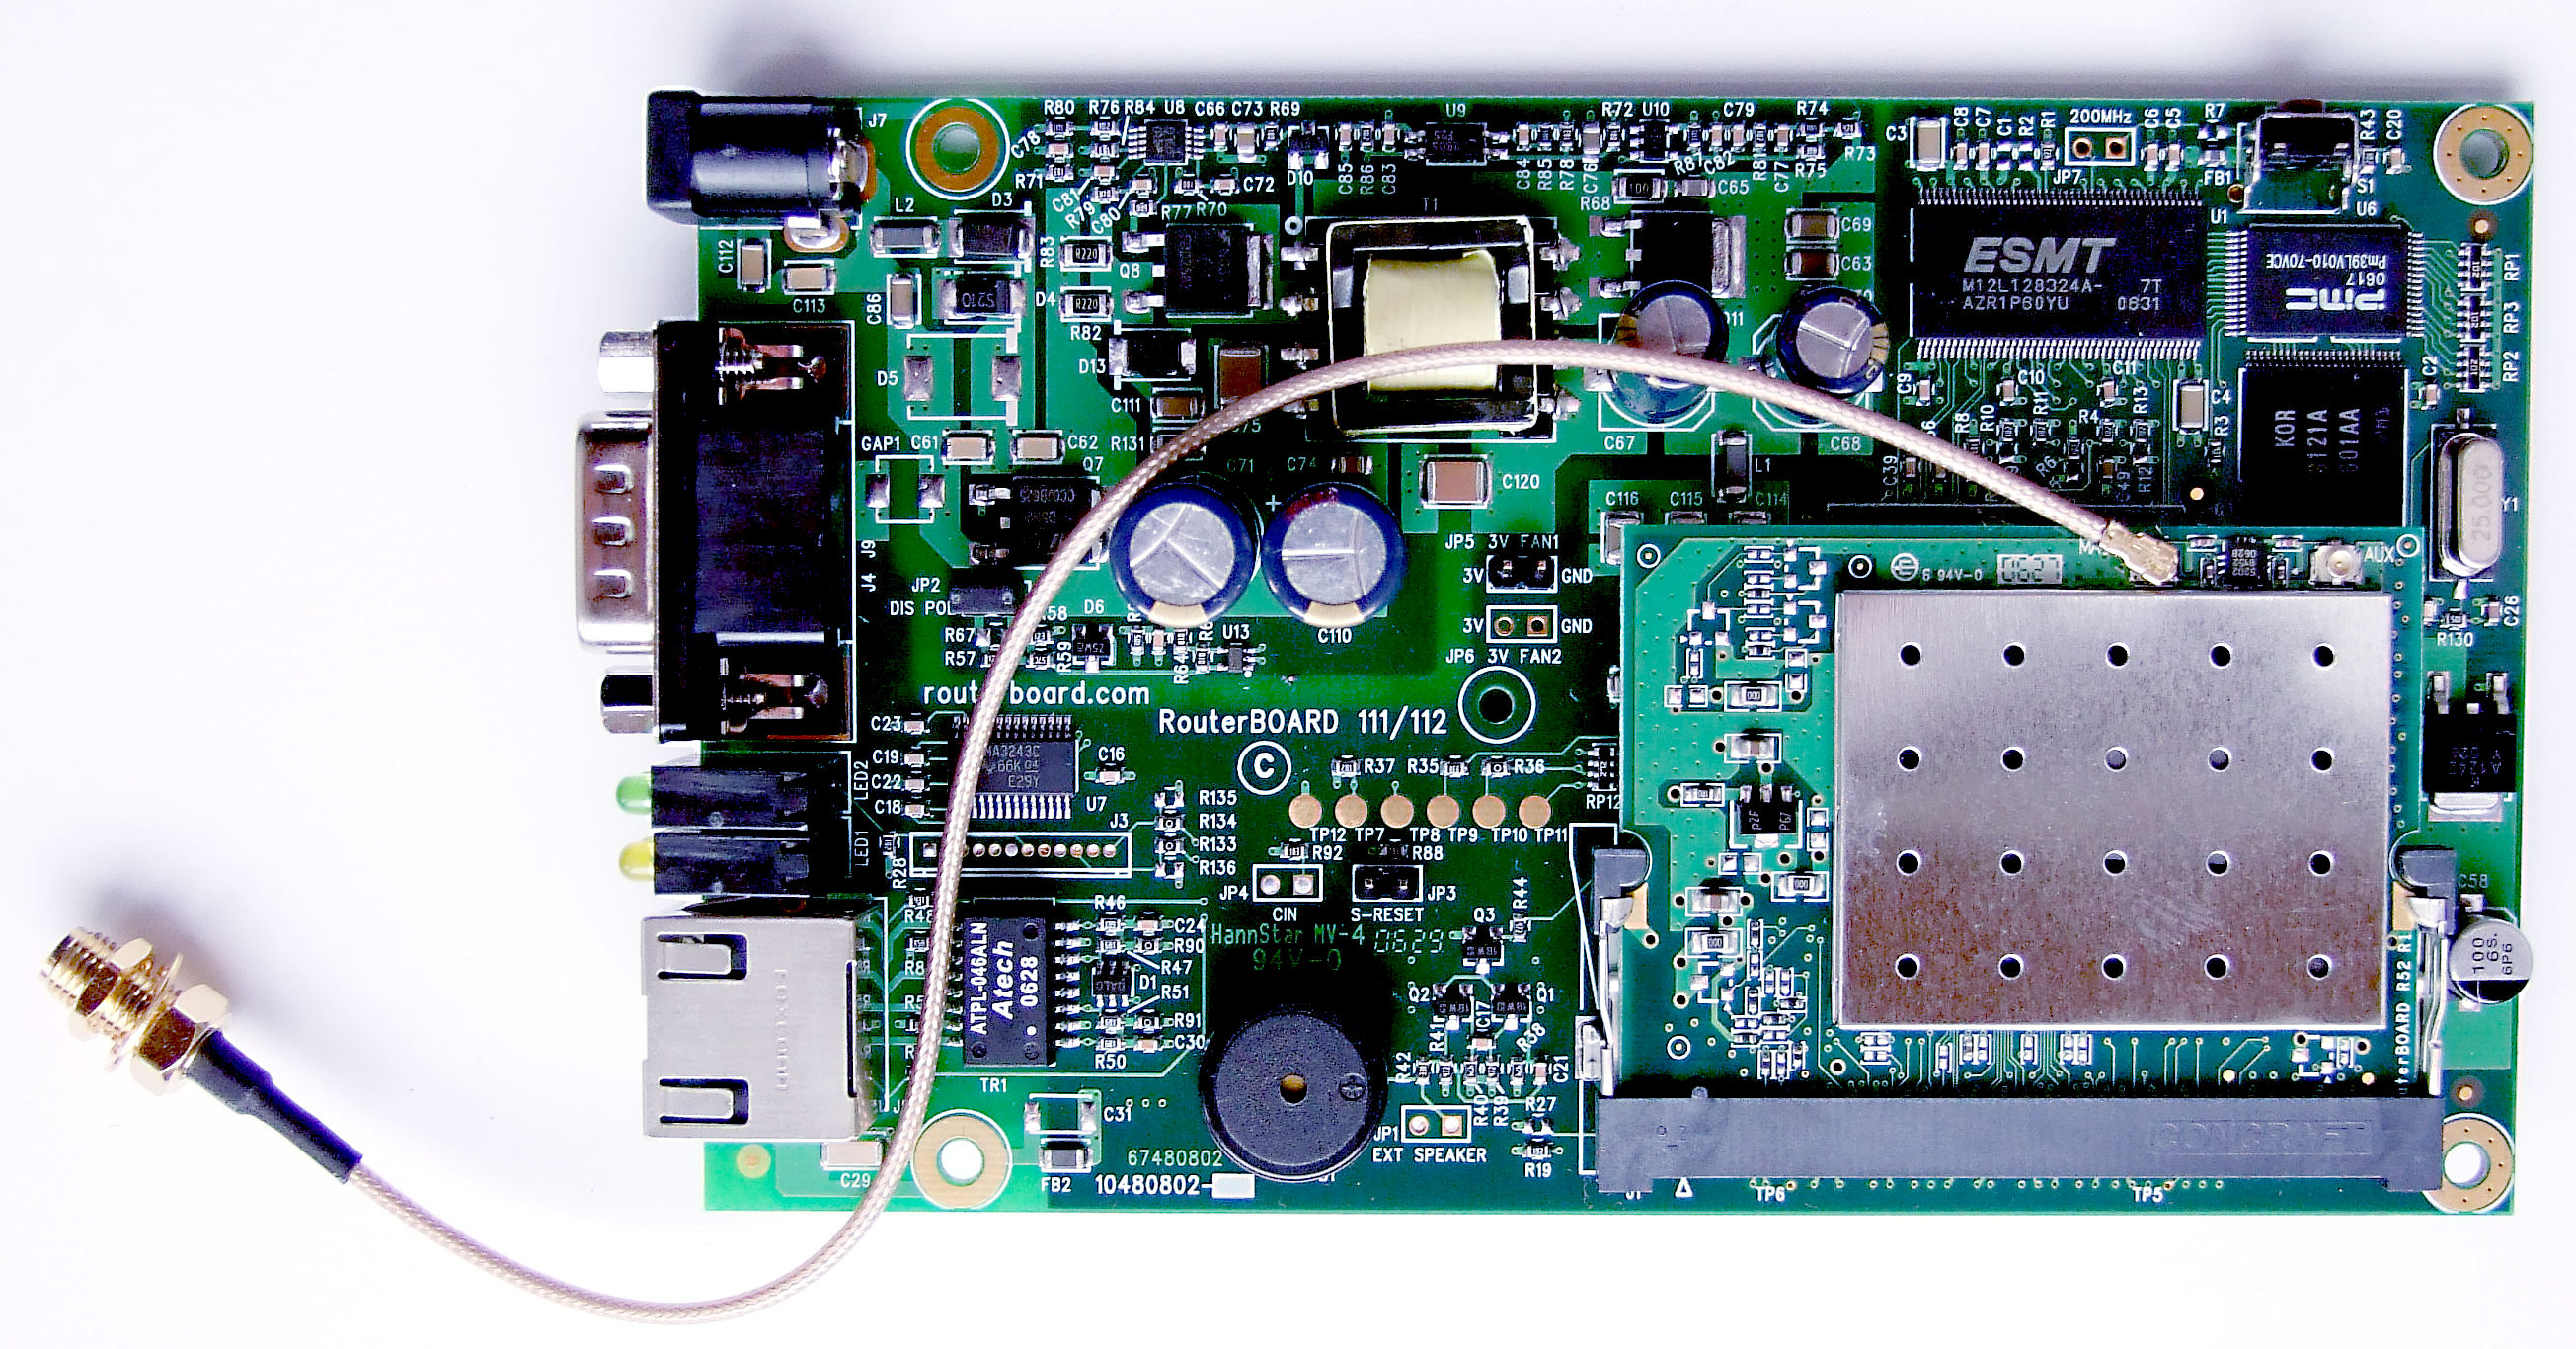
You will need a female N connector as well as about an inch of copper wire. You will also need to purchase what is called a “pig tail” antenna component. This is a length of insulated wire that has connections on either side that plug into the antenna mount and the WiFi card on your device. You will also need four small nuts and bolts if they do not come with the N connector. Additionally, a soldering iron can be used to secure fittings, but it is not necessary.
The first step is to find a can that is about three inches in diameter, peel off the label and remove the lid. Next, trace out a hole in the side of the can that is the same size as the center piece of the N connector. There is no single, ideal place to install the connector on the can, and you may need to do some experimentation to determine where the strongest signal will be present. Unfortunately, this can only occur after you’ve mounted the piece. So, it may take a few different cans before you get things just right.
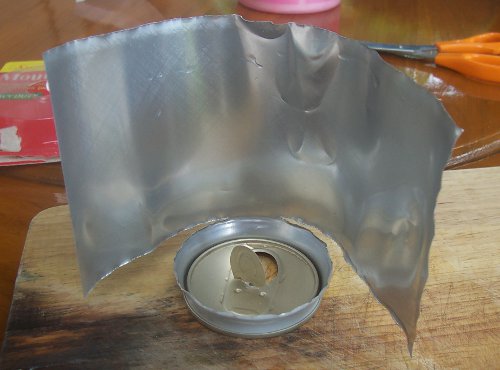
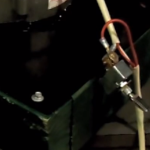
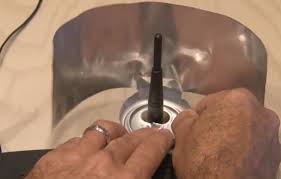
Start by centering the connector hole just below the mid point on the side of your can. Then, you will also need to mark four holes that will be used to mount the nuts and bolts as you secure the fitting. The next step is to attach the connector. Then, place the copper wire into the end of the connector that faces the inside of the can. Finally, attach the male end of the pig tail antenna to the fitting and your WiFi cable to the other end and you are good to go.
The next step is to determine where to place the can for optimal reception, and this also involves some trial and error. However, once you’ve found that “sweet spot”, you should be able to enjoy greater connectivity even if you are in an area where the signal is weak. Keep in mind that this is just a homemade version of many commercial products on the market that essentially do the same thing. However, this method lacks a certain degree of precision that can influence the overall result.
But, it will work in an emergency under the right conditions, and this is an excellent resource to have at your disposal when other options are not available. The best thing to do is to prepare now, so that you will have a makeshift device ready for use when the time comes.